Schedule your free quote
get in touch!
Contact
VIEW OUR reviews
Let us take care of your painting project today!
reviews
type below and hit enter
Search the blog
painting tips
home Maintenance
Interior Design
discover the triangle
Browse by topic
We are the trusted choice for quality painting services in Durham, Raleigh and the surrounding areas.
Read more about our services
we are so glad you're here
How to paint walls. Tips and tricks.
February 27, 2023

Painting the walls in your home is a great way to refresh the look of your space and add a new color to your walls. However, it can be a lengthy and tedious process that requires a lot of time and effort. In this blog post, we will guide you through the steps of painting the walls in your home, from preparing the walls to the finishing touches.
Preparing the Walls

Preparing the Walls: Use a cloth to clean the walls and remove any dirt, or dust that has accumulated on them. This step is important as it ensures that the paint will adhere properly to the wall surface.
Cover Floors with Tarps: Before you start painting, you need to cover your floors with tarps or drop cloths to protect them from paint spills and drips. If you have carpeted floors, use plastic sheeting to cover them.

Supplies to Use
- Paint and primer: Choose a paint that is suitable for the surface you are painting. If you are painting a wall with a lot of imperfections, consider using flat paint to help disguise them. If you want a durable finish, use eggshell or satin paint. If you are painting a bathroom, we highly recommend using a semi-gloss finish.
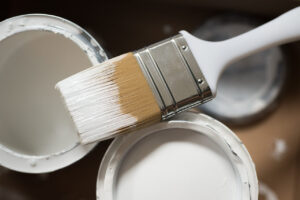
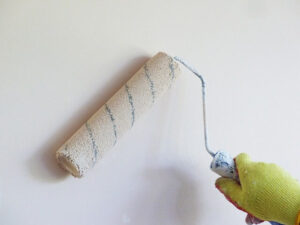
- Paint brushes, Rollers, roller poles, and roller frame: Use a roller to paint large areas and use a roller pole for high-to-reach areas. Use a brush to paint around the edges and corners. Choose brushes and rollers that are appropriate for the type of paint you are using.
- Painter’s Tape: Use painter’s tape to protect edges and corners that you don’t want to paint.
- Paint Tray: Use a paint tray to hold the paint for your roller.
- Drop Cloths: Use canvas tarps to cover your floors and protect them from paint spills.
- Ladders: For high-to-reach areas and to cut in the upper walls.
- Plastic: Use painter’s plastic sheeting rolls to cover furniture.
- Other supplies you might need: Caulk and caulk gun, joint compound, tray, spatula, and sanding block.

Painting Techniques
Finishing Touches
Now you know the process of how to paint the walls in your home. Painting can be a lengthy and tedious process, but it can be a rewarding one as well. By following the steps outlined in this blog post, you can prepare your walls, protect your floors and furniture, choose the right supplies, use the right painting techniques, and add the finishing touches to create a beautiful and refreshed space. So, roll up your sleeves and get started!
We are the trusted choice for quality painting services in Durham, Raleigh and the surrounding areas.
Read more about our services
we are so glad you're here
Hello!
click here to get a quote
exterior painting
interior painting
info@brushupnc.com
919-597-8444
GET A QUOTE
919-597-8444